
S-5! SnoRail & SnowFence
Learn About Installing SnoRail & SnoFence
S-5! SnoRail & SnoFence System Installation
SnoRail & SnowFence Installation
Installation of the Snorail & SnoFence snow retention systems is simple and requires only a few basic tools to complete:
- Tape Measure
- Hacksaw or reciprocating saw with a metal cutting blade
- 18V cordless screw gun (do not use an impact driver)
- String Line (Wire suggested for longer runs)
- inch/lb torque wrench (not required, but highly recommended
Step 1:
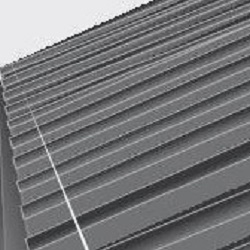
Establish a straight line across the tops of the roof panels at the desired location.
This is best accomplished by measuring up from the eave at each end of the area to be protected with SnoRail or SnowFence, then pulling a string line tight across the tops of the panels.
Individual measuring of each clamp location from the eave is not recommended.
Step 2:
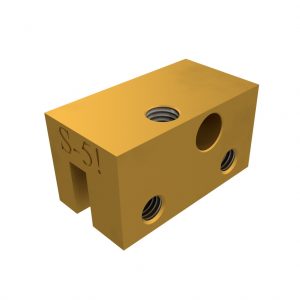
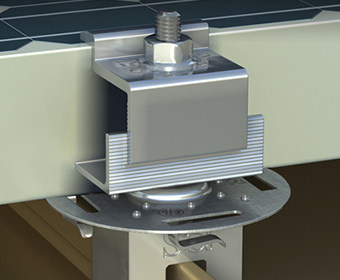
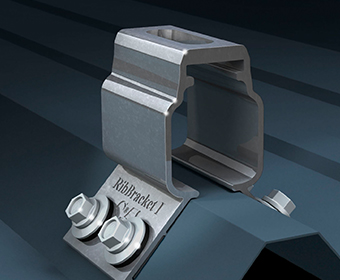
Preparing the clamps for installation. For copper roofs, you will use brass S-5-BSF and S-5-BE clamps. For all other metal roof materials, use S-5-ASF and S-5-AE clamps. Note that you should use the S-5-BE or S-5-AE clamps at both ends of the assembly, and every 48′ if the assembly is longer.
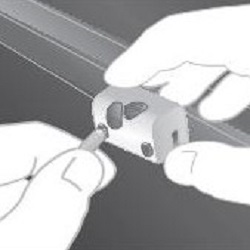
Thread the provided setscrews into the clamps by hand.
Determine which side of the panel seam your setscrews should be engage. On folded seam profiles, the setscrew should engage the folded contours rather than the smooth side of the seam.
Step 3a
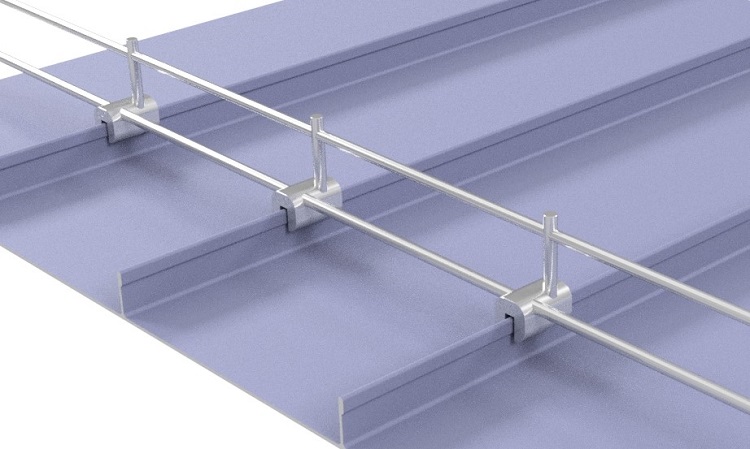
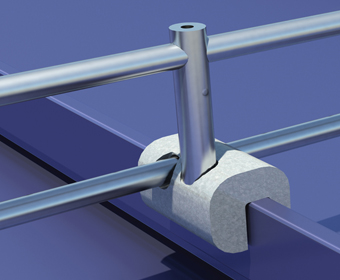
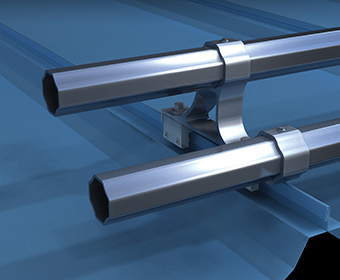
For both SnoRail & SnoFence, prepare the assembly by sliding the appropriate number of clamps onto the SnoRod. Make sure that the set screws on all clamps are facing the same direction.
Use one S-5-BE or S-5-AE clamp per 48′ of assembly and at the ends of each isntallation. These will be used to fix the SnoRod, preventing lateral movement.
Postition the clamp/SnoRod assembly on the panel seams, aligning with the string line, and loose-fit all clamps to the panel seams, tightening just enough to hold the system in place.
If installing SnoRail, proceed to Step 4. If installing SnoFence, proceed to Step 3b.
Step 3b
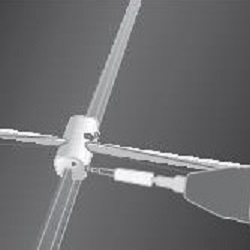
If installing SnoFence, thread SnoPost or SnoPost B into each of the S-5-BSF or S-5-ASF clamps, and SnoPost E or SnoPost BE into each of the S-5-BE or S-5-AE clamps. Do not tighten; the SnoRod will align the post correctly.
Insert SnoRod into the SnoPosts to create SnoFence. Don’t tighten the set screws in the top of SnoPost at this time.
Proceed to Step 4.
Step 4
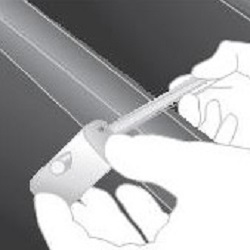
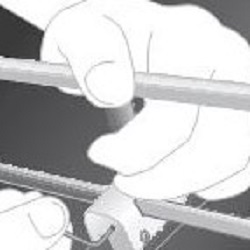
Tighten all of the set screws, beginning with the clamps.
For maxium holding strength, the set screws should be tensioned, then retensioned as the roof panel seam compresses. Screw tension for the clamp setscrews should be verifed using an inch/lb torque wrench to between 160-180inch/lbs on steel panels, and between 130-150inch/lbs on all other metals and thinner steel materials.
After the clamps are secured, tighten the small 8-32 setscrews at the front of the clamps using the provided allen key to lock the SnoRod into place. If using Snofence, next tighten the 8-32 setscrews in the top of the SnoPost E or SnoPost BE using the same allen wrench.
SnoRail & SnoFence -Brass
Products
-
Brass Coupler for SnoRod
$5.84 - $6.56 -
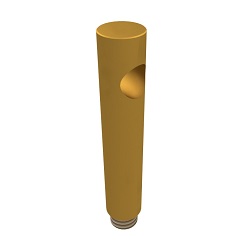
Brass SnoPost-B
$9.19 - $10.33 -

Brass SnoPost-BE
$11.58 - $13.02 -
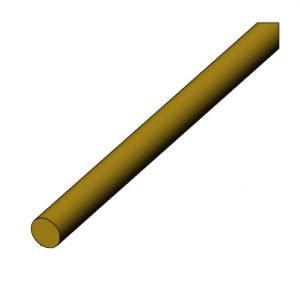
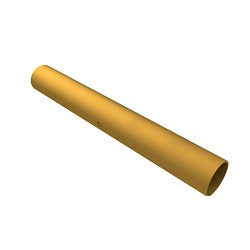
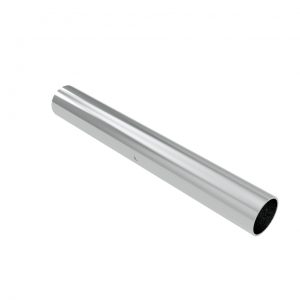
Brass SnoRod for SnoRail & SnoFence 7’8″
$73.05 - $80.94 -
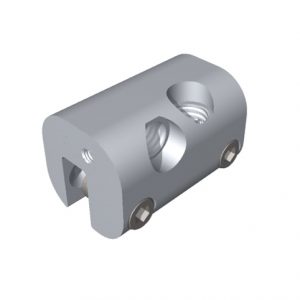
S-5-AE End Condition Aluminum Clamp for SnoRail & SnoFence
$10.89 - $12.24 -
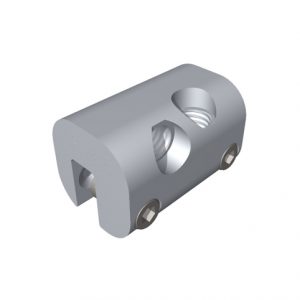
S-5-ASF SnoRail Intermediate Aluminum Clamp
$9.10 - $10.23 -
S-5-BE Brass SnoRail/SnoFence End Clamp
$26.20 - $29.45 -
S-5-BSF Brass SnoRail/SnoFence Intermediate Clamp
$22.94 - $25.78 -
Sno-Rod Aluminum Coupling
$1.34 - $1.51 -
SnoClip II
$2.53 - $2.85 -
SnoClip III
$3.21 - $3.61 -
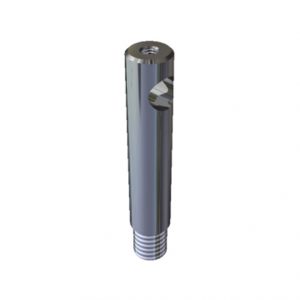
SnoPost E for SnoRail & SnoFence
$7.03 - $7.90 -

SnoPost for SnoRail & SnoFence
$6.49 - $7.29 -
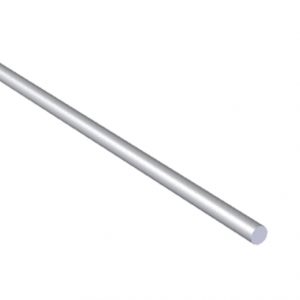
SnoRod for SnoRail & SnoFence 7’8″
$44.77 - $62.83
Industry Leader in Metal Roofing Attachments.
Other Product Types

Subscribe to our Newsletter
Get the latest deals and product information by signing up to our newsletter below